Category Archives: my artsy stuff

Interview with Uncommon Goods

As part of the roll out of my glasses, I gave a little interview to Uncommon Goods. They’ve been great to work with, especially for someone who is pretty licensing-shy. I’ve reproduced the interview below where you can read about my uncommon (see what I did there?) path to becoming an artist, as well as some of my favorite spots to drink here in San Francisco.

…………


MAKER STORIES

Alyson Thomas’ Creative Cocktail Illustrations & Other Adventures in Art

JUNE 18, 2015

Alyson Thomas | UncommonGoods

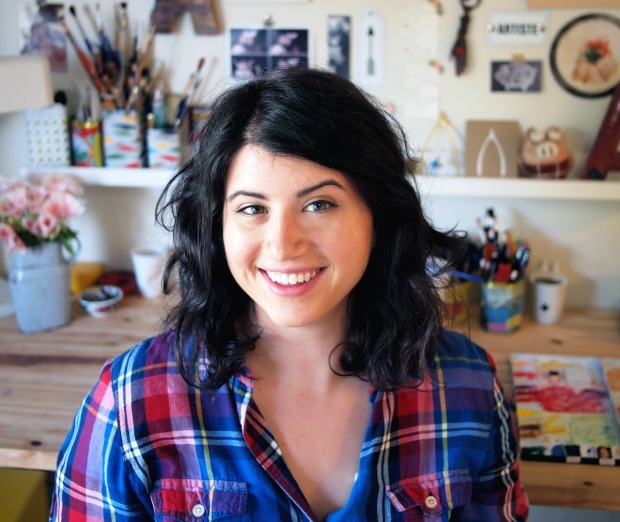
Attorney-turned-illustrator Alyson Thomas has always loved drawing, painting, and making things, but says she “didn’t think anything of it” until she was voted “most creative” in her college dorm. She didn’t exactly leap from law school to illustrating designs like the ones featured on our Cocktail Diagram Glasses, either.

Alyson’s career started in a very different place–the Department of Homeland Security. From doodling on sticky notes in meetings, to turning in her badge and spending a year on a drawing project, Alyson’s love of illustration grew and eventually blossomed into a full-time business. 

She took a break from diagramming delicious things, visiting “nerdy cocktail bars,” and generally being awesome, to answer a few questions about quitting her day job and the creative endeavors that followed.

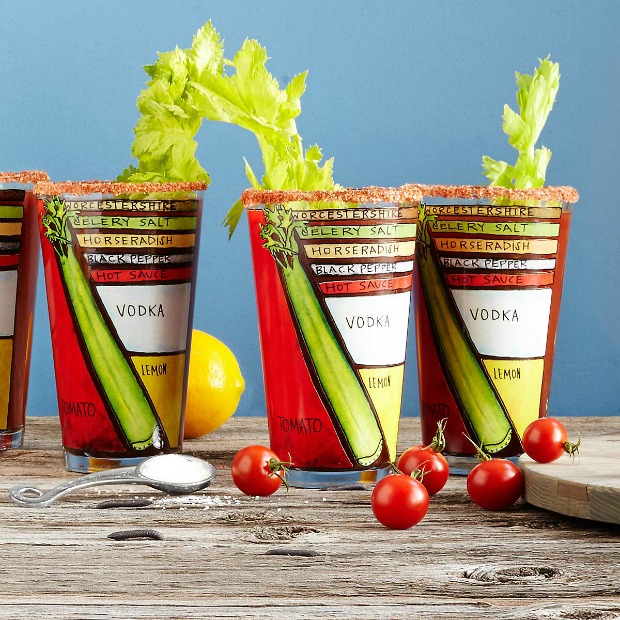
Bloody Mary Diagram Glasses | UncommonGoods

Back when you were working as an attorney, did you ever find yourself doodling on documents or daydreaming about creating art when you were trying to prepare for a case? If so, what did you doodle and/or dream about?

Ha! Kind of. My attorney job was as an Asylum Officer for the Department of Homeland Security, where I’d interview people seeking political asylum here in the United States. (Yes, I had a badge.)  As you might imagine, it was a pretty intense and emotionally-draining job, so I didn’t have downtime while working. But, during a mandatory 6-week training program on a federal base in Georgia, I did do a fair amount of drawing on Post-Its during our 8-hour/day classes. At that point, I had been already doing the job for months, so drawing helped me stay sane during the often repetitive classes. That training period was also the first time I received feedback on my artwork from strangers, and it was overwhelmingly positive. I remember being pretty surprised at the time; they were just pen doodles on Post-Its!

A lot of my old notes from in-house training also have doodles — a little sad character named Blocky, smoke explosions, jars–on them. I’ve always been the type of person who can pay attention a little better when my hands are busy. Looking back on the doodles I made during that time though, and I’d have to say they were a little dark. Well, at least a weird hybrid of cute and dark.

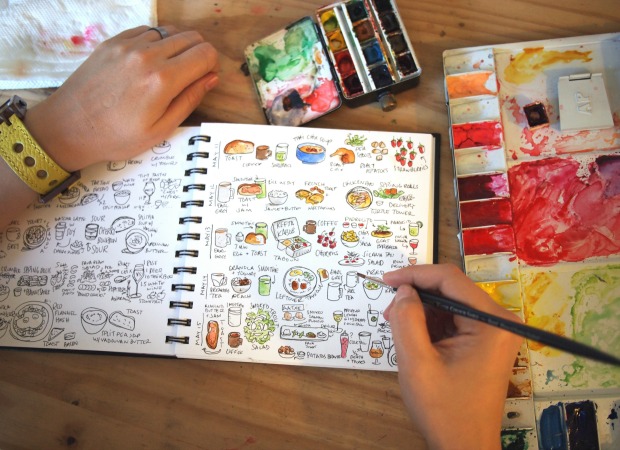
Alyson's Food Diary

What inspired you to take that leap and “quit your day job” to pursue art full time? How did you initially become interested in illustrating?

In all honesty, leaving my day job had absolutely nothing to do with any sort of dream to be a full-time artist. I was burnt out from the work and needed to quit. I had saved up 6 months of living expenses and my husband was still working, which gave me some runway for what I began calling my “sabbatical.” Honestly, I wasn’t sure what my next path was going to be. I applied for some other legal positions, and did some contract brief-writing here and there.

Before starting with the Asylum Office, I had been unemployed for over a year out of law school, so I knew from that experience that to keep my spirits up, I needed a project to work on to at least give some structure to my days. Drawing was fun, relaxing, and helped pass the time. So when I began my “sabbatical” in 2010, I also started a daily drawing project called “Meat Sections.” Food has always been a source of interest and obsession for me, and a project creating butchery-style diagrams of, well, anything, had enough legs to last me for 365 days. I joined the 365 project group on Flickr, signed up for a blog, started a Twitter account, and began creating and posting artwork every day.

The response was pretty immediate. By mid-February, someone contacted me via Flickr to buy a print, so I activated my Etsy shop in order to accept the order. During SF Beer Week that year, I created a diagram of a great beer from The Bruery I had sampled, and then shared it with them via Twitter. A few hours later, they emailed me with an offer to create artwork for all of their beers! So these early positive responses really fueled my work, and by July, I really felt like this could be a viable business after my first craft show – IndieMart.
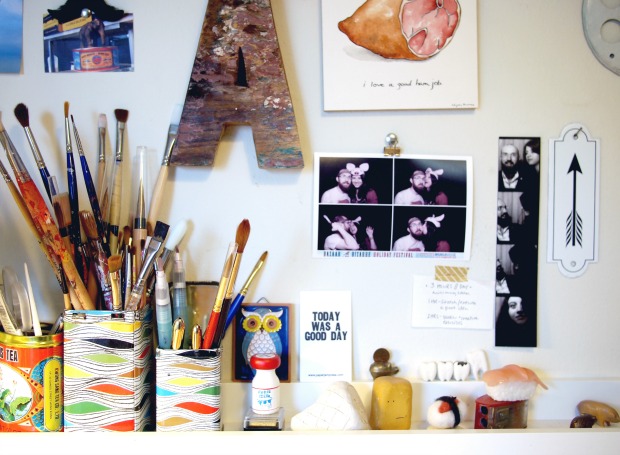
Alyson's Studio

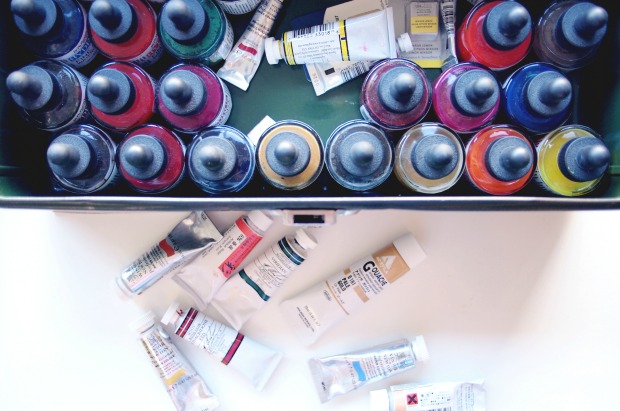
Paints


You describe yourself as self-taught. Could you elaborate on that a bit? What steps did you take to teach yourself your craft, and how did you develop your skills over time?

As a student, in high school or in college, I never took an art class. I’ve always been a creative person I suppose – drawing, painting, cooking, sewing, making videos – but I really didn’t think anything of it. I kind of thought that’s how everyone was (until I was voted “most creative” in my college dorm). The period of unemployment after law school is when I started watercoloring for the first time, using a book my then-boyfriend/current-husband Steve bought me. (Why he bought it, I have NO idea.) I also checked out a ton of books from the local library to teach myself basic drawing and painting techniques. I started just doing illustrated journals, and was really inspired by Danny Gregory, both his books and his blog. I might have some innate talent, but I really think so much of succeeding in art and in life is just about putting in the time and effort. I had a lot of time on my hands back then and used it to be creative.

And then, with the Meat Sections project in 2010, having a self-imposed schedule of doing a daily drawing really accelerated my skills. It’s easy to see when I go back and look at my work from that year. Since that time, I have taken two adult art classes, both at Root Division here in San Francisco. One on drawing and one on acrylic painting.
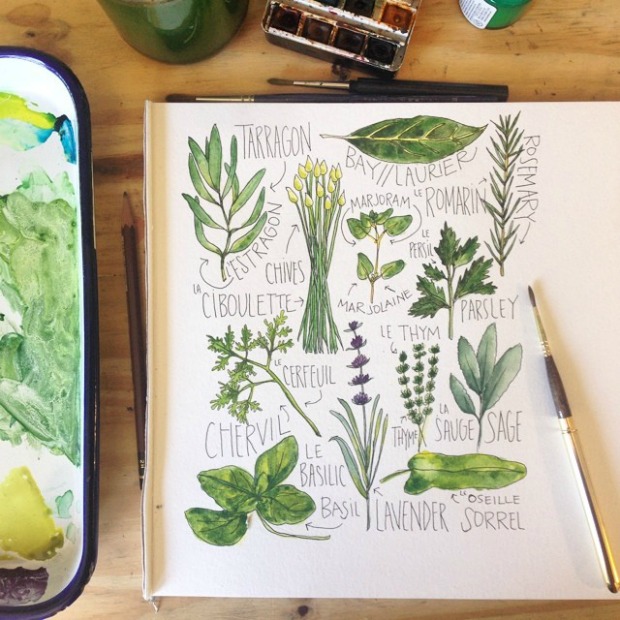
Fresh Herbs | Alyson Thomas

What gave you the idea to incorporate classic drink recipes into your designs?

The first cocktail artwork I did was for my second solo art show in 2012, entitled “Beer, Bourbon, and BBQ.” I made 4 cocktail pieces, all featuring bourbon – Mint Julep, Old Fashioned, Manhattan, and Boulevardier. The originals all sold fast and then I knew I was on to something. Most of my artwork is inspired by my desire to research and learn more about food and drink, and then share that information with others. It is really quite helpful to have a visual representation of what goes into various cocktails, and in their (generally) correct proportions. You can understand more about how drinks come together – like how a whiskey sour, a margarita, and a sidecar are all basically constructed the same with slight tweaks.
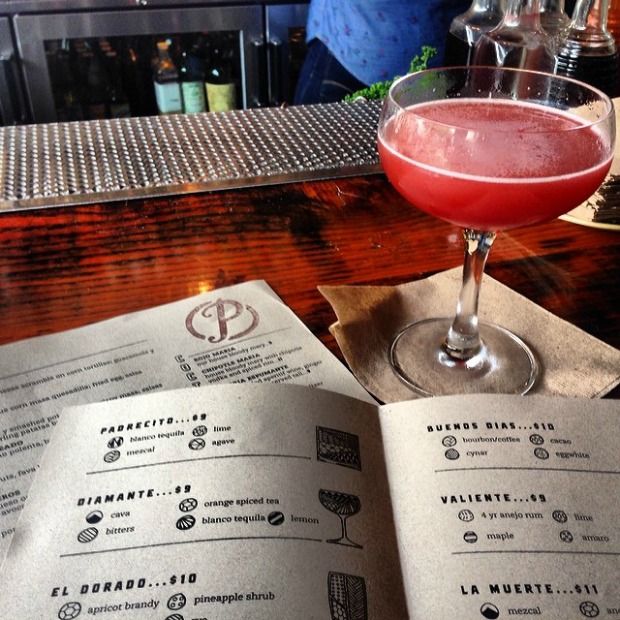
Cocktail

Speaking of classic drinks, you mentioned on your blog that you patronize nerdy cocktail bars. What makes a cocktail bar nerdy? Is this research for your work, or just for fun? Or both?!

Good question! In my mind, a nerdy cocktail bar has an interesting menu, uses somewhat esoteric ingredients, has impeccable technique, and last but not least, knowledgeable bartenders who are obviously passionate about the cocktail world. I think in the last 3 years or so, cocktail bars have really raised their game when it comes to these criteria, so finding nerdy cocktail bars is easier and easier. If a bartender can not only answer your question about a particular drink ingredient, but also will expound on the history of it, how they like to use it, or maybe give you a sample taste, that’s a nerdy bartender in my book. The ultimate nerdy cocktail book in my opinion is Dave Arnold’s Liquid Intelligence. Definitely advanced, science-based, knowledge, but amazing.

I’ve also had the great fortune to work with several bars, either making custom artwork for them, or illustrating their menus, like Padrecito in SF. [Shown above.] Oh, and my barfly habits are definitely both for fun and research!

What’s your best advice for someone looking to switch career paths to follow their dreams of becoming an artist?

Do your work consistently and regularly, and then put it out there. You aren’t going to know if you can make it until other people can see your work and respond to it.
Edible San Francisco

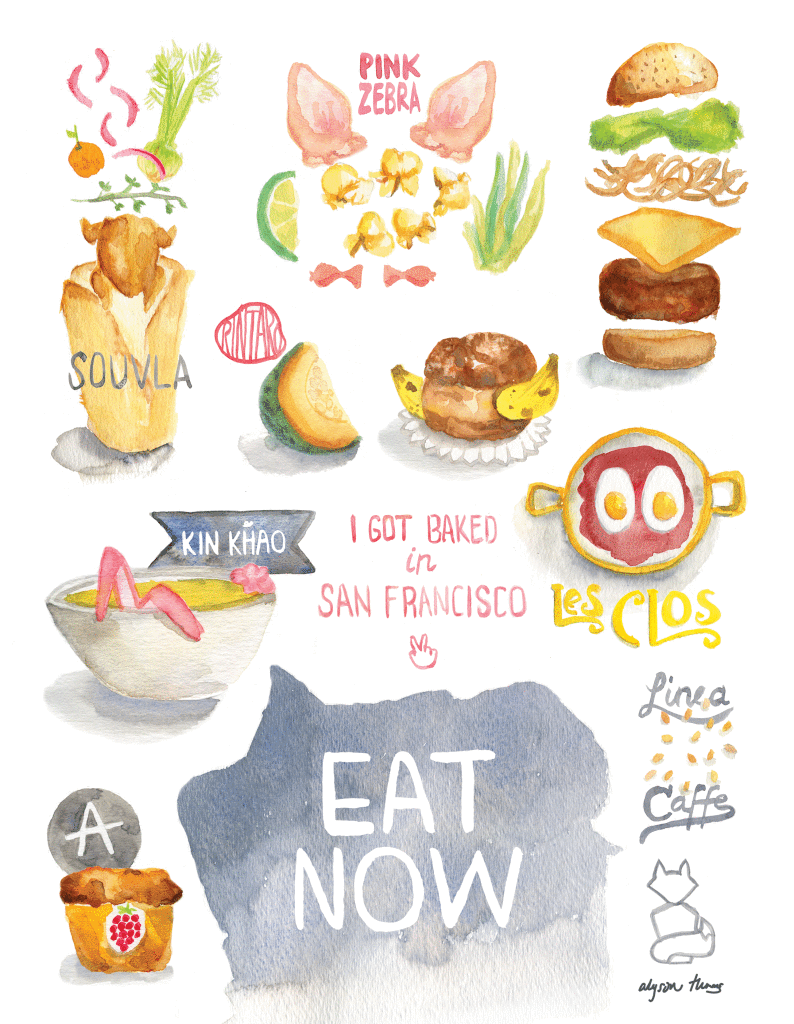
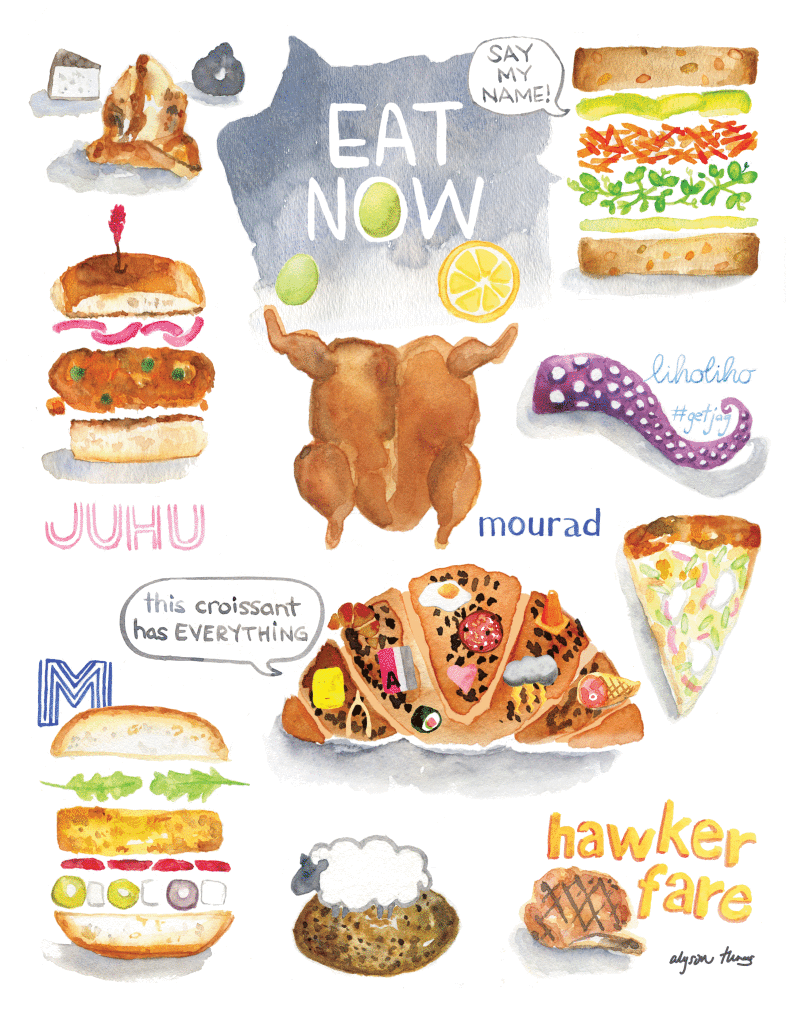
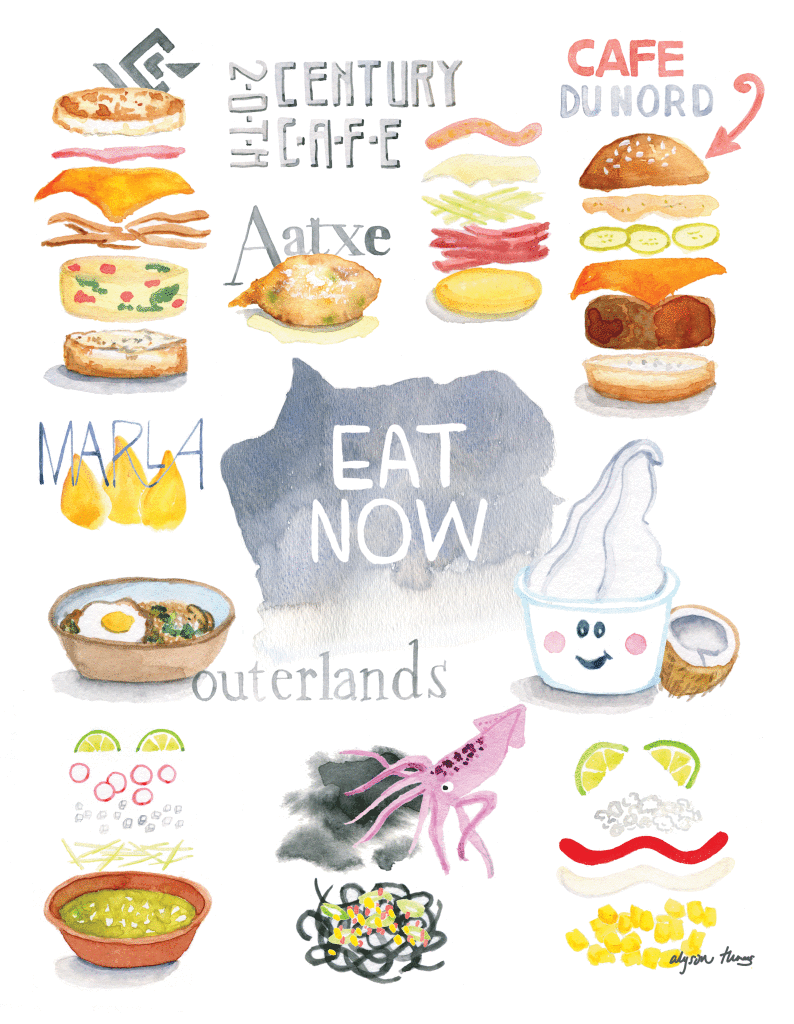
For the past year, I’ve had the pleasure of illustrating for the local magazine Edible San Francisco. I get a list of the Top 10 Eats for each issue, and whip up an illustration to accompany the article. Fun stuff.

Winter 2015

web-Edible-SF-Dec.-2014-alyson-thomas-300dpi


Spring 2015


web-Edible-SF-new-march-2015-alyson-thomas-300dpi

Summer 2015

web-Edible-SF-new-summer-2015-alyson-thomas-300dpi


Fall 2015

web edible sf winter 2015 alyson_thomas 300dpi


2015 Salumi Calendar

Drywell Art Salumi Calendar

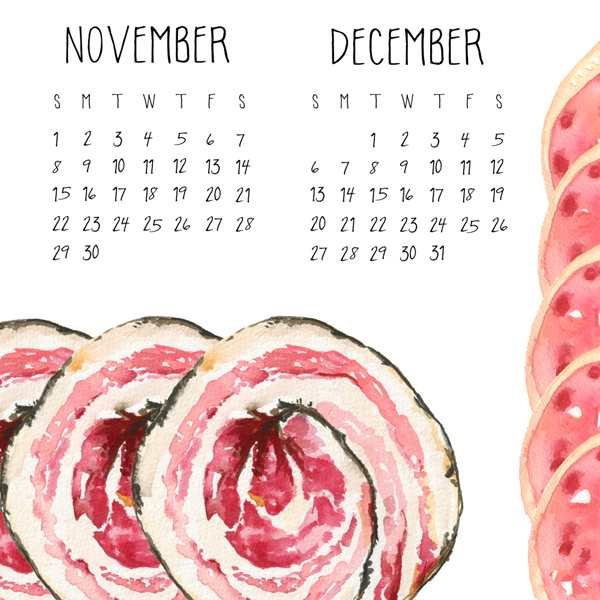
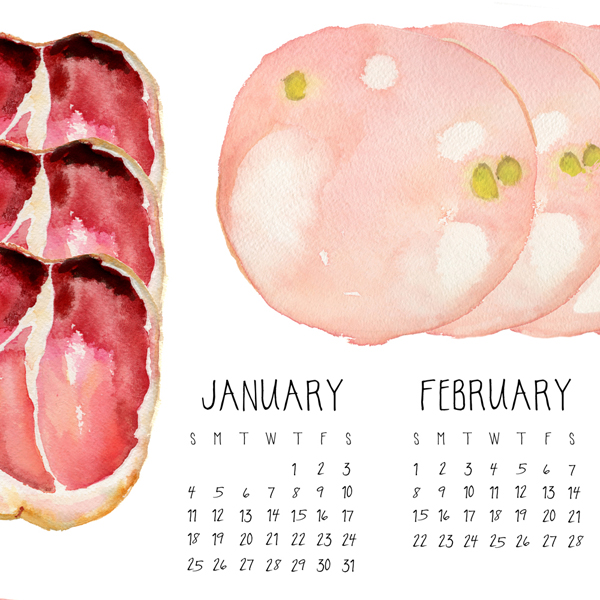
It’s been 2 years since I made a calendar, and I think this one is worth the wait! Serious hunger pangs were induced by painting over 20 varieties of salumi and cured meats. Eight made the cut and are sliced up just like they would be on your favorite charcuterie board.


Drywell Art Salumi Calendar

SALUMI PLATE small3 SALUMI PLATE small

Perfect for the meat lover, avid cook, or chef, this 2015 calendar features a selection of cured meat, worthy of any antipasto or charcuterie plate. The calendar features all original hand drawn watercolor illustrations of meaty goodness and even includes a key identifying all the salumi : Soppressata, Culatello, Mortadella, Salame Toscano, Bresaola, Pancetta, Zampone, and Lonza.

Print measures 13 x 19 inches.

Get ’em while they last! Right here.


Works in Progress

August has been a very productive month for drawing and painting here at Drywell HQ. Must be the fact that Karl the Fog is keeping me indoors most of the time. Here are some recent progress shots shared over on my Instagram account. Final pieces to be revealed soon!

drywell art mystery cocktail diagram in progress sketch

BLT in progress by drywell art

BLT watercolor in progress by alyson thomas of drywell art

New Art and Renegade. Kablammy!

SF-e-flyer-2014-MSL

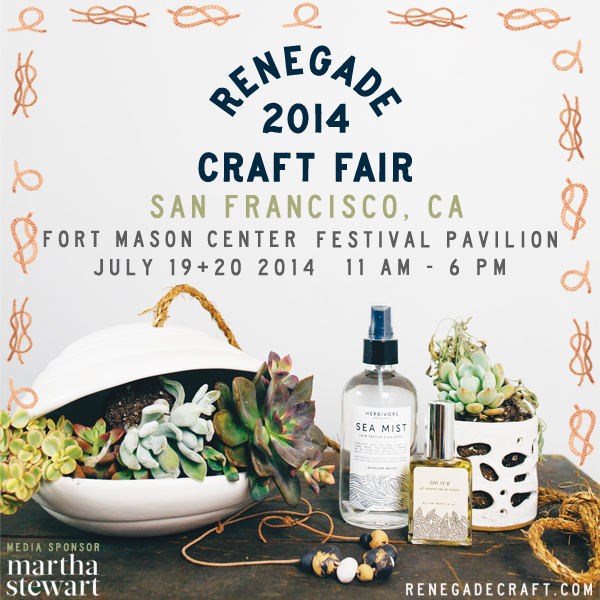
It’s time again for the “summer” Renegade Craft Fair in San Francisco! Bundle up and come on out to Fort Mason. I’m in booth 137, right down the center aisle.

It should be a great time, and you can see some new Drywell Art for the first time in person. Consider this a sneak preview:

OLYMPUS DIGITAL CAMERA

OLYMPUS DIGITAL CAMERA

Making Chocolate with Dandelion

dandelion sketch eatretreat

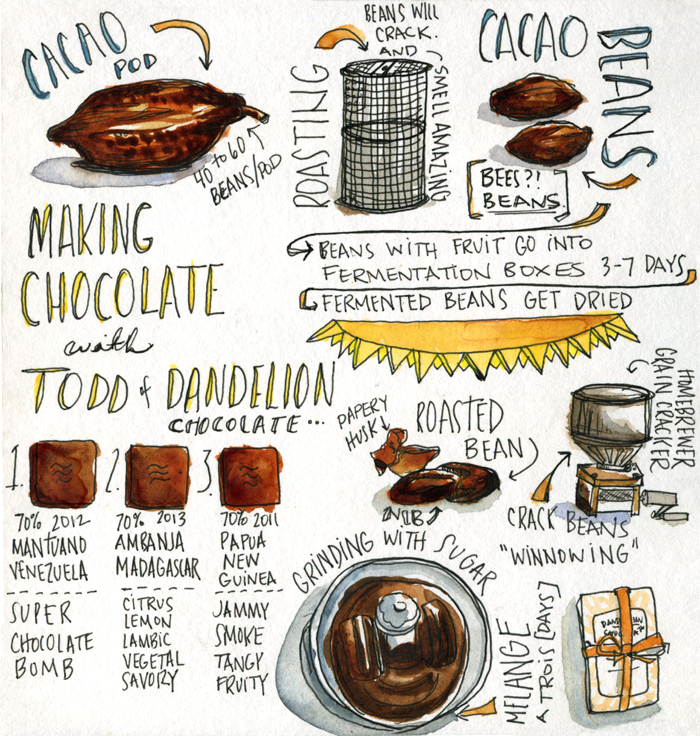
How to Make Chocolate. © Alyson Thomas 2014

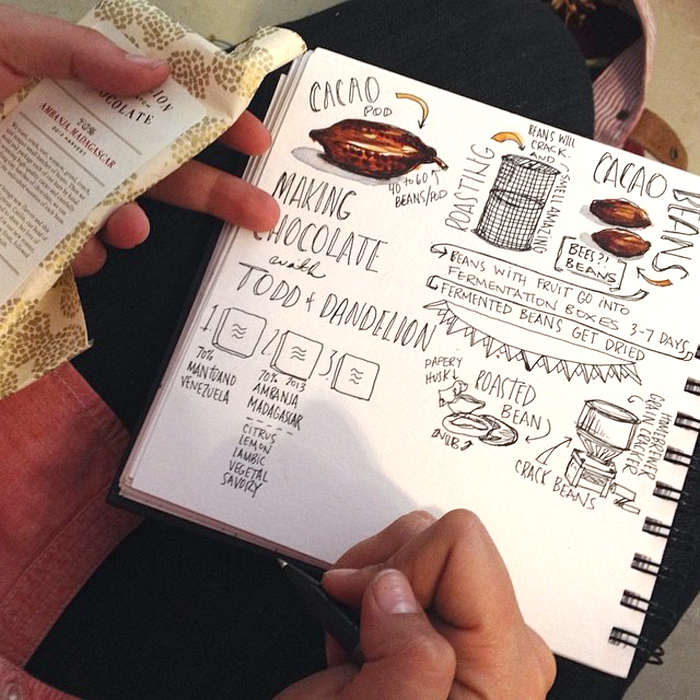
During the Eat Retreat weekend, our days were filled with food demonstrations, information sessions, and how-tos. One of the highlights was helping to make chocolate, from the cacao beans to bar, with the affable Todd of Dandelion Chocolate. They quite literally travel the world in search of the best cacao beans, which they then turn into chocolate bars at their factory on a now-hopping stretch of Valencia Street in San Francisco. What really makes this chocolate mind-blowingly awesome to my now blown-mind is that Dandelion only uses cacao and sugar in their delicious bars. No added cocoa butter, milk solids, or stabilizers.  Todd schlepped up some chocolate making equipment to do a small-scale demo of the chocolate making process for Eat Retreat. And since I draw food and such, I took notes like this:

Photo by Jen Pelka

Photo by Jen Pelka

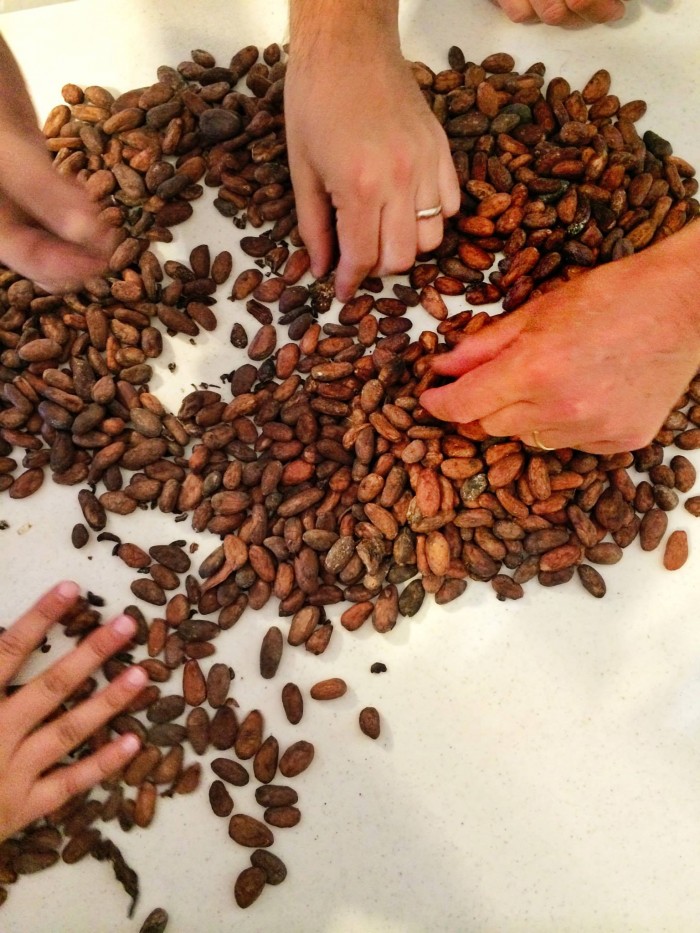
Todd had us sort through the beans, discarding any oddballs or debris. Then the pile of beans was placed into a coffee roaster, and then into a toaster oven. This cracks the beans, allowing the outer husks to be removed from the nib. While the beans roasted, Todd passed around samples of three of their single-origin bars. I was one of the few fruity chocolate fans in the room, so I adored the Madagascar bar.  It had a lot of citrus flavors, with one attendee comparing it to a lambic beer. Dead on. And with an insanely long finish. (Immediately upon my return, I picked up a bar for Steve, who declared it “absolutely the best chocolate I have ever had.” So there’s that.) It was fascinating to have such different flavors of chocolate, all just coming from the beans and the fermentation process. At their cafe in San Francisco, you can get flights of brownies, each using a different chocolate varietal.

Photo by Lauren Chandler

Photo by Lauren Chandler

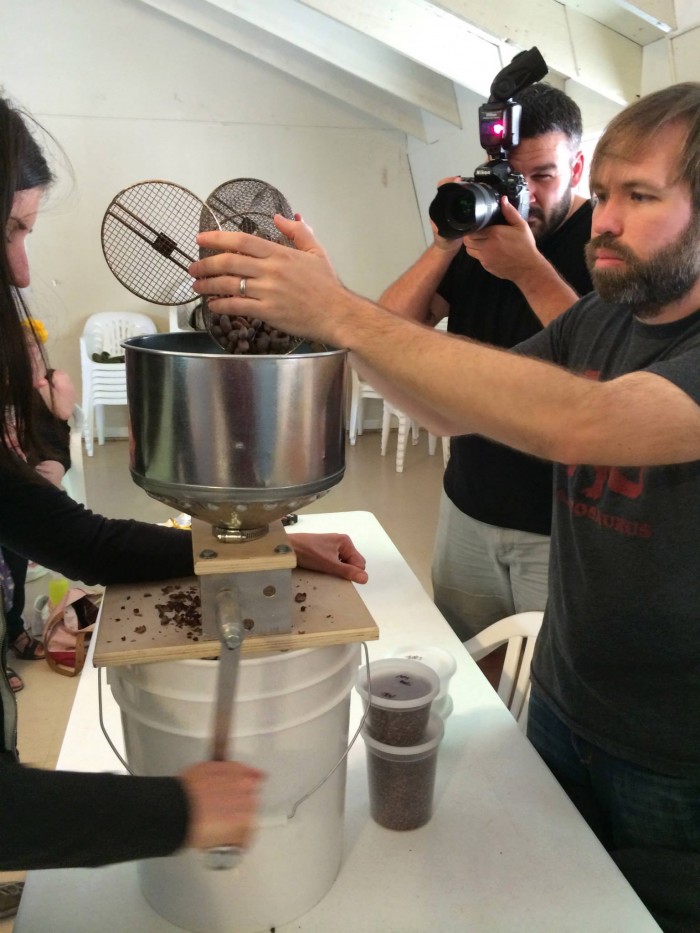
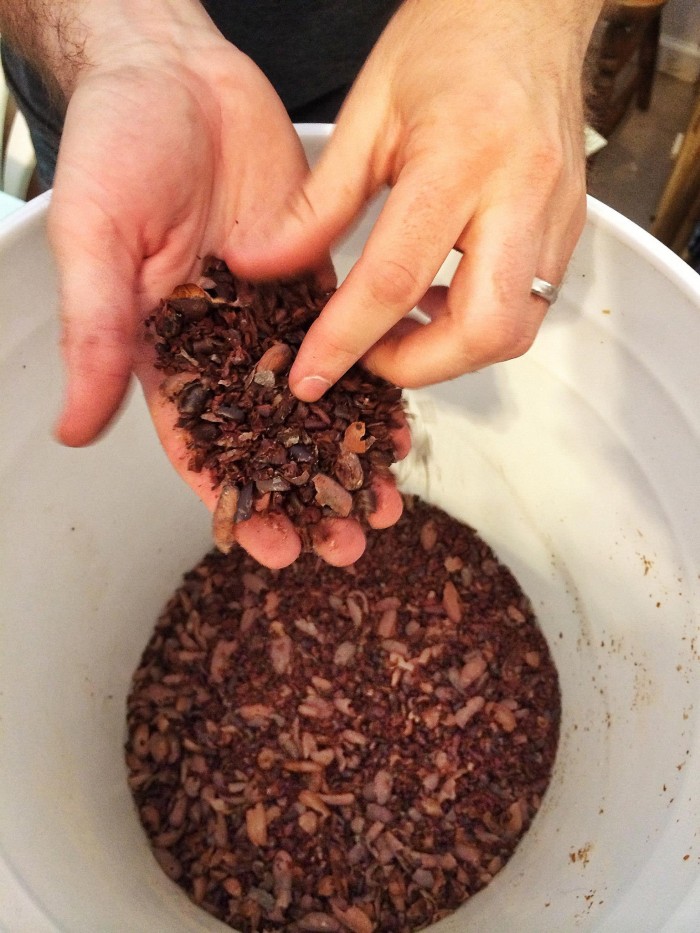
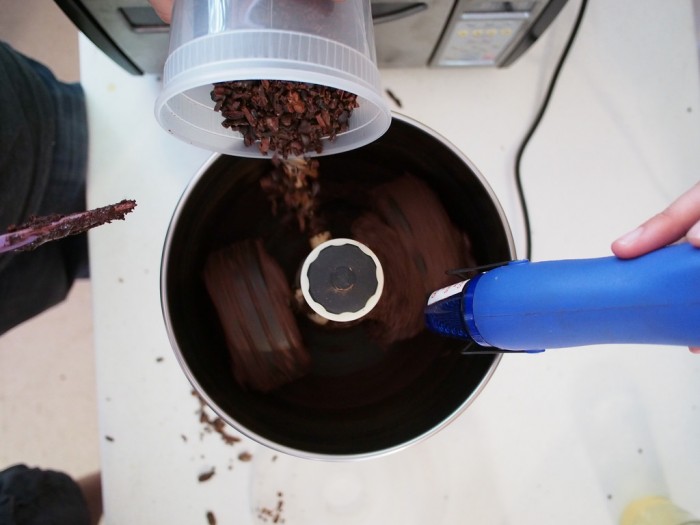
After roasting, the now amazing-smelling beans were cracked in a small grain mill used by home brewers. The papery husks were removed in a process called winnowing, using a shop vac. After that,  the beans are ground in a melanger for several days, with sugar eventually added in. This makes the final chocolate bar, after it is tempered and left to cool.

Photo by Lauren Chandler

Photo by Lauren Chandler

Photo by Lauren Chandler

Photo by Lauren Chandler

Photo © Jesse Friedman.

Photo © Jesse Friedman.


There are an insane amount of other details and variables that go into making chocolate as delicious as Dandelion’s – like where and how the cacao plants are grown, fermentation techniques at the farms, and roasting methods – but Todd showed us the basic process of bean to bar. For more info on all the other fascinating stuff, check out this article by fellow Eat Retreater and chocolate fanatic, Lesley Stockton.

They explain the process beautifully over at the Dandelion Chocolate site, and if you are in San Francisco, you can even go on a free tour, like a modern-day Charlie Bucket. And if you’re really into chocolate, you can even make a small-batch of your own chocolate with Dandelion or go on a cacao buying trip.


friday o’clock : salt-preserved mezcalrita

er2014_004_lslphoto

Cheers! Jen + Leslie. Photo by Vincent Ricchiuti

Two weeks ago, I was walking  fields with Doug of the Mendocino Grain Project, learning more about wheat varietals, dry-farming and grain milling that I ever thought I wanted to know.  It was just one part of a food nerd paradise weekend called Eat Retreat. I was lucky enough to be one of the 35 or so attendees chosen to attend the 3-day retreat. All attendees are food professionals of some kind, most being chefs or food makers.   The days were filled with workshops, demonstrations, and tastings, all which will get their own recap to come.

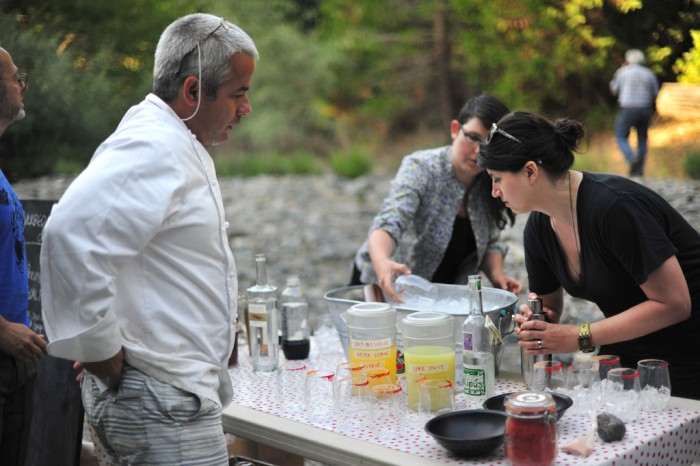
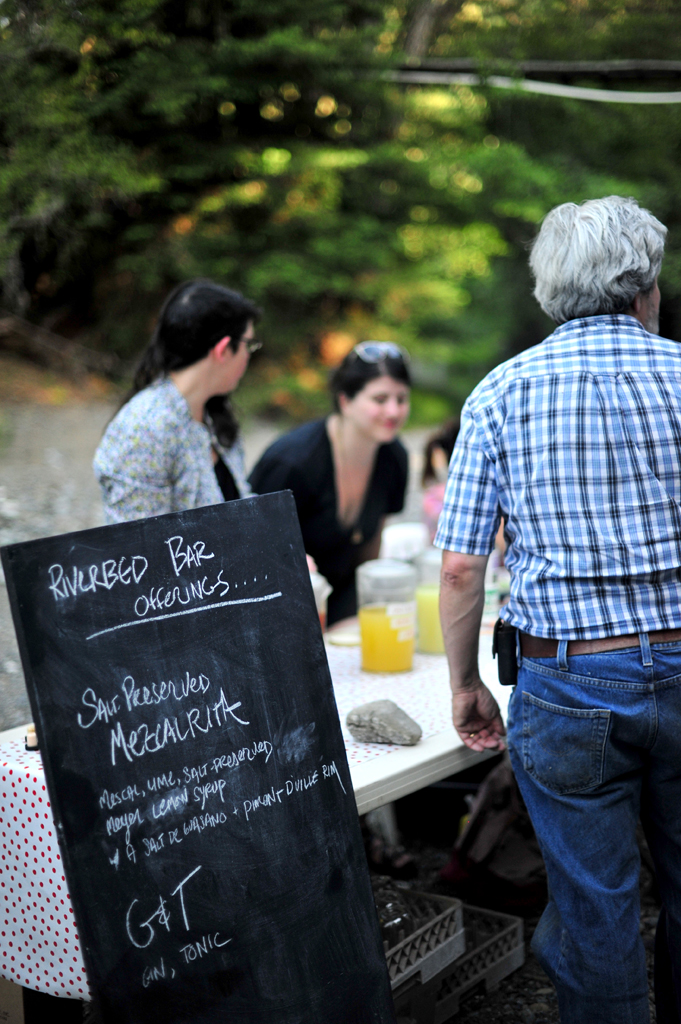
Prior to arrival, we were put on meal or happy hour hour teams, and no one will be surprised which one I ended up on. My teammates for the weekend were Dafna of Inna Jam and Tammy of Spice Hound. We were graciously provided white rye, gin, and mezcal to concoct libations. On Saturday, we made three cocktails: Aperye Spritz, Gin + Tonic, and the Salt-Preserved Mezcalrita. The latter two were served up creekside, for an impromptu happy hour that was so beautiful that it verged on Kinfolk-twee. 

er2014_003_lslphoto

Riverbed bar tending. Photo by Leslie Lindell.

bar setup

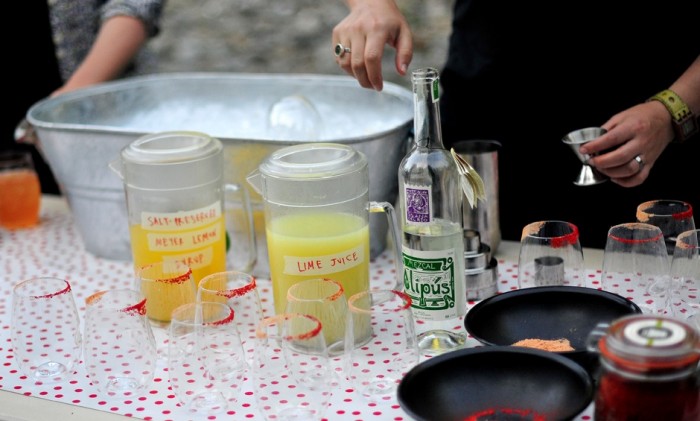
On the bar, lovely rimmed glasses waiting. Photo by Leslie Lindell

er2014_001_lslphoto

The menu. Photo by Leslie Lindell.

The idea for the mezcalrita came together quite nicely. Many mezcal cocktails are mixed at home from my extensive collection, smuggled back from Oaxacan roadside mezcal distilleries a few years ago. And a friend of mine had made a Moroccan margarita a month ago for our Mediterranean mash up progressive dinner party, using salt-preserved lemons. Then Dafna mentioned she had a bunch of preserved Meyer lemon brine from her lovely preserved meyer lemons. Boom. We were in business.  The end result was pretty killer. Very balanced; smoky, slightly sweet, salty, sour, and a touch spicy from the piment d’ville and sal de guasano. Goes down easy, especially when you’re lounging on a riverbed.

Salt-Preserved Mezcalrita

I highly recommend using Inna Jam preserved lemon brine for this. Dafna uses a minimum amount of salt in her preserved lemons, which adds just the right saltiness to the syrup. Other preserved lemon brine might end up too salty. If that’s your only option, add less brine to the syrup mixture. 

You likely don’t have sal de guasano in your pantry. That’s ok. Substitute a mixture of a cayenne or other hot pepper and salt. You’ll miss the umami of the caterpillar larvae, but you’ll survive. It is also available online. Or just skip it entirely, and rim the glass only with the lovely fresh Piment d’Ville – a locally grown version of the obsession-worthy piment d’esplette.

2 oz joven mezcal

1 oz lime juice

1 oz preserved lemon syrup* (recipe below)

sal de guasano (in small bowl)

piment d’ville (in small bowl)

lots of ice

Dip the rim of glass in lime juice. Then dip one side in sal de guasano, and the other side in piment d’ville. Plop in some ice cubes.

In a shaker, combine mezcal, lime, and lemon syrup. Fill with ice and shake until your hand is freezing. Strain into your cold, rimmed, glass. You can easily make up to 3 drinks in one shaker, as I did while playing bartender for the thirsty Eat Retreaters.

* To make preserved lemon syrup, combine 1 part sugar with 1 part hot water. Stir until sugar dissolves. You can also boil the whole lot together on the stove, but it’s not necessary. Once sugar is dissolved, add 1/2 part brine reserved from the preserved lemons. You might as well make a big batch of this and store in a jar in the fridge. Or beg Dafna to start selling it.
And of course I had to do a diagram….

mezcalrita

Love letter to Japantown, San Francisco

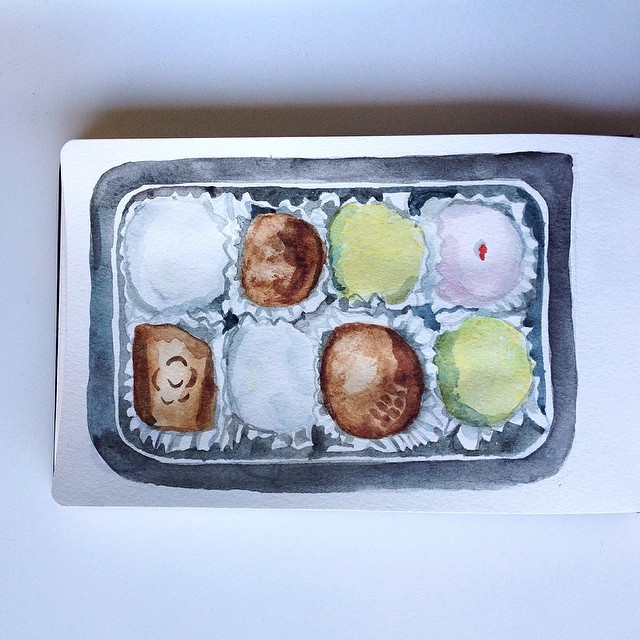
mochi painting

mochi painting from my sketchbook

I’m not exactly sure when my love/obsession with Japan began. I know that I had Japanese import versions of ska CDs before I ever tasted sushi. The fact that Steve loves Japanese pop culture as much as I do certainly fuels our joint fascination. I love the food, the culture, the design, the art, and the uniquely foreign perspective forged from years of isolationism. Really everything. We’ve been fortunate enough to get to travel to Japan twice, and hope there are many more trips in our future.

For the past three years, I have been part of a business group, made up of creative entrepreneurs and makers. We all met at various craft shows in the Bay Area and have been meeting once a month for years, to share resources, vent our frustrations, and give advice to each other. And this year, we started a little blog, sharing a little business advice, some recipes from our monthly meetings, local retailer interviews and our favorite spots in the Bay Area. I recently wrote my own little love letter to Japantown in San Francisco. Hop on over and discover my favorite places to eat and shop in one of the few remaining Japantowns in America.

And if you want to amp up your own obsession with Japanese food, may I suggest the multi-volume, hilarious food manga series Oishinbo (available at Kinokuniya and UmamiMart) and the funny food memoir Pretty Good Number One, about a young American family living and eating in Tokyo for a month.

Negroni Week is almost over!

negroni shoot

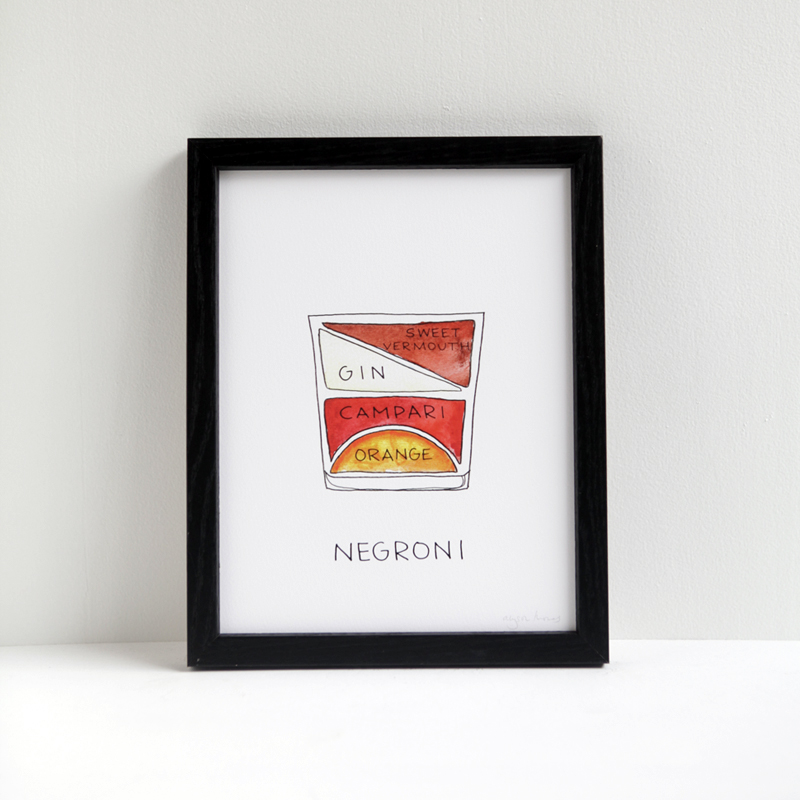
Sponsored by Imbibe Magazine and Campari, Negroni Week is an opportunity to drink for a cause. Participating bars donate $1 of each Negroni sold during that week to a charity of their choice. The amazing staff of Imbibe, who happen to be big fans of my Negroni diagram, reached out to me, and I am so psyched to be the only non-bar, non-restaurant to participate this year!

For every Negroni print ordered between June 2 and June 8, I will donate $2 to The Food Pantry in San Francisco. I’ll also donate $1 for any other print ordered from June 2 – 8. So, order up and help a great cause! Check out the Negroni Week website for a list of bars in your area that are participating as well.

And if you are REALLY into Negronis, you can make your love permanent.
 

Guess Who’s Back?

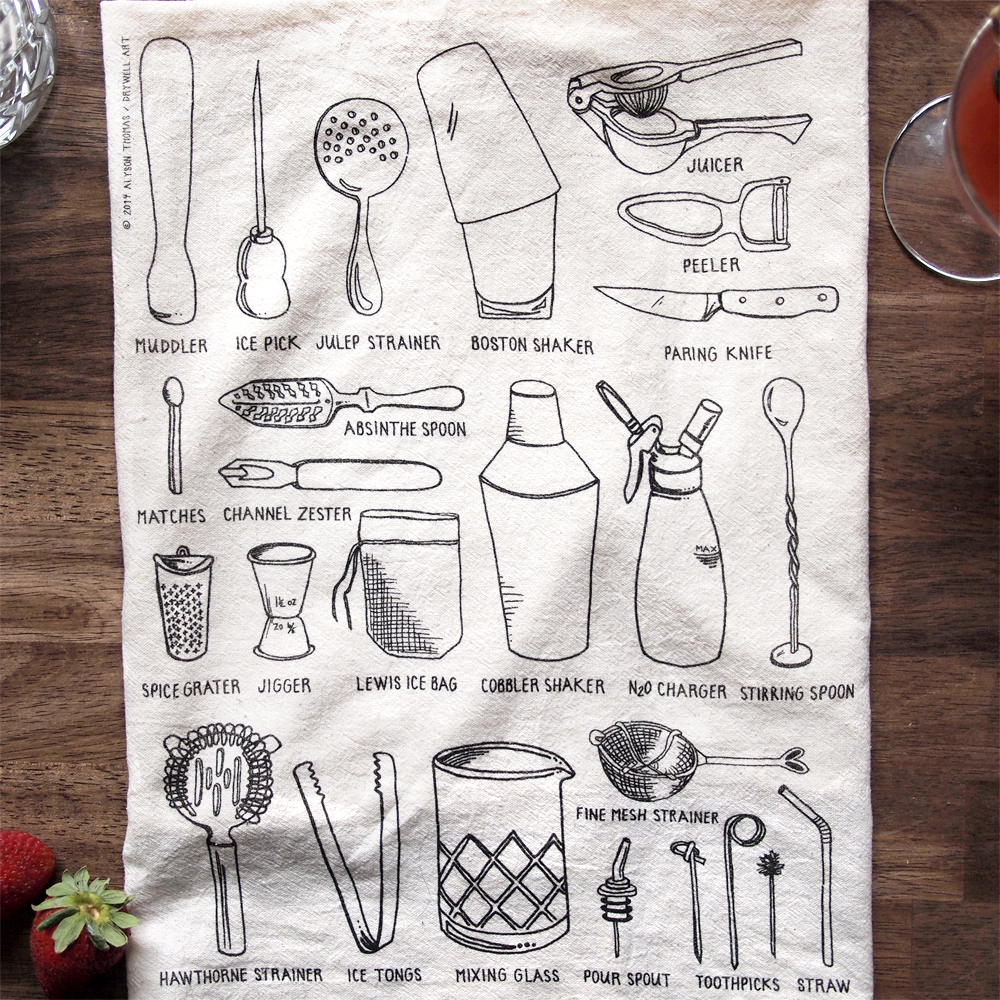
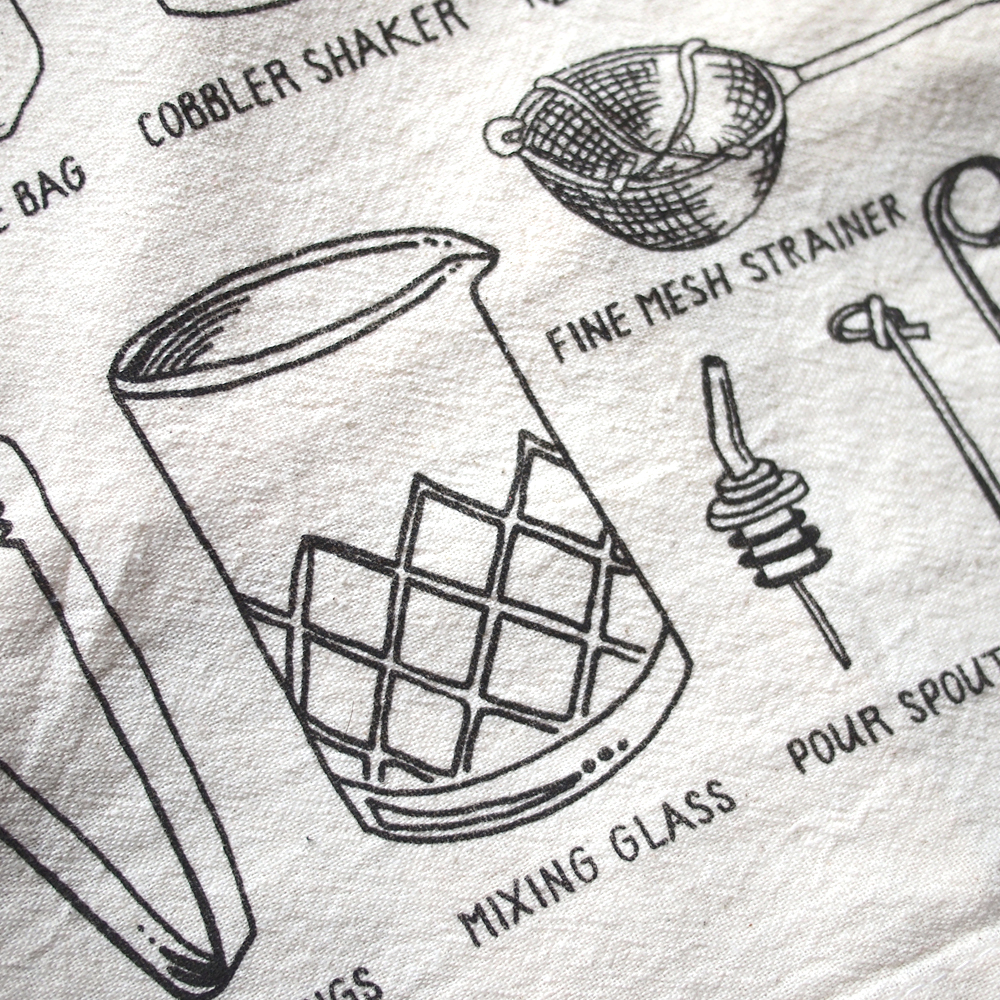
Bar towels! These sold out SO. FAST. over the holidays, but now they are back in stock in the old shop. I’m using a different printer and towel this time, and I think the quality is even higher! Smooth, unbleached cotton towels, printed in the USA.